

相信有很多人因为手机的上网流量不够而烦恼,想用手机通过家里的宽带上网,可是又没有安装无线路由器,那可以通过笔记本的无线网络共享wifi吗?答案是肯定的!只要你的笔记本是Win7系统!那Win7如何共享wifi呢?今天系统家园小编就Win7系统教你怎么通过win7共享wifi网络,只需要一些简单的命令及设置就可以了!你就可以畅玩支持WiFi的移动设备了。
Win7 wifi热点设置具体步骤:
第一步:确定你的笔记本已经开启了无线。然后点击电脑左下角的开始,在搜索程序和文件栏输入cmd。

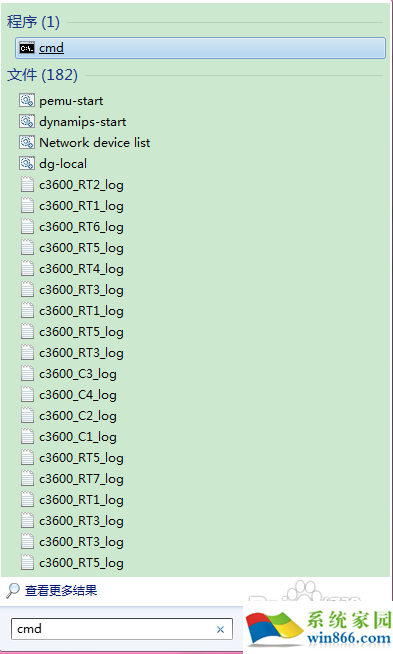
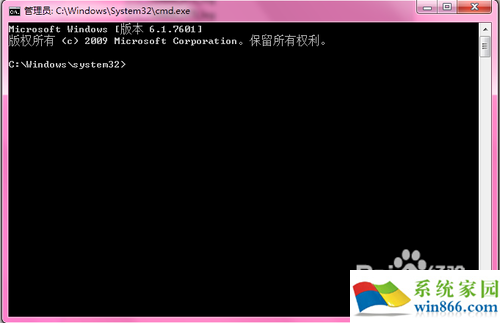
第二步:在上图中找到Windows命令处理程序cmd.exe,右击选择以管理员身份运行。
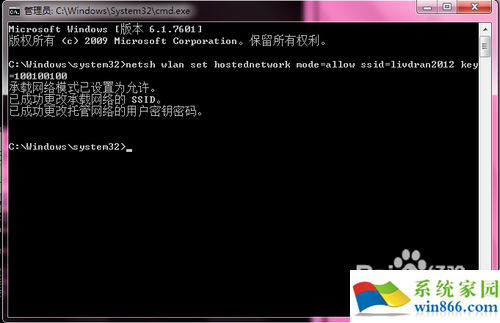
mode:是否启用虚拟WiFi网卡,改为disallow则为禁止。
ssid:无线网名称,推荐最好用英文。(此处以livdran2012为例,可自由设置)
key:无线网密码,限定八个以上字符。(此处以100100100为例,可自由设置)

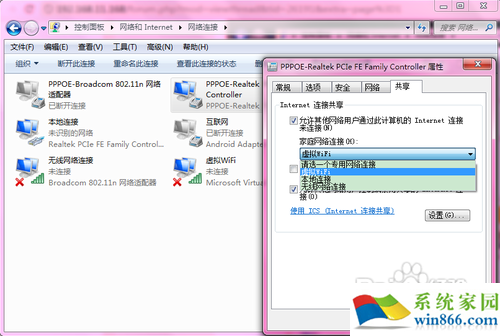
第五步:运行成功后,打开网络和共享中心,点击左侧更改适配器设置。

为方便起见,可将无线网络连接2重命名为虚拟WiFi。


确定之后,提供共享的网卡图标旁会出现“共享的”字样,表示“宽带连接”已共享至“虚拟WiFi”。

第八步: 然后,继续在命令提示符中输入:netsh wlan start hostednetwork,按回车键运行。
最后,虚拟WiFi的红叉消失,WiFi基站已组建好并启动,用支持WiFi的设备搜索到自己建立的无线网络(如例中livdran2012),输入自己设置的密码(如例中100100100),即可共享上网了。


备注说明:
今天教大家的这个虚拟WiFi是基于Win7系统上的,需要通过虚拟WiFi共享网络的前必须打开计算机并连接网络。手机等WiFi设备的网络连接上网完全是依赖于计算机win7系统连接的网络。